Did you know that the best CAD software for 3D printing has roots dating back to 1959? That’s when Doug Ross at MIT coined the term “computer-aided design” after developing a program to draw electronic circuit drawings on a computer.
CAD software has come a long way since its early days. The expensive systems used by automotive and aviation industries in the 1980s have evolved remarkably. Every manufacturing process, including 3D printing, begins with designing the end part. Beginners often feel overwhelmed when choosing the easiest CAD software for 3D printing because there are so many options today.
Modern CAD tools pack incredible power and give great advantages to those who become skilled at using them. Companies that use advanced CAD software see 19% faster development cycles and 15% lower development costs. These tools also help achieve 16% shorter ECO turnaround times, making them crucial for efficient 3D printing workflows.
This piece will help you choose the right CAD software for 3D printing. We’ll compare the best beginner CAD software options and give practical advice to start your first project, whether you’re new to 3D design or looking to upgrade your current software.
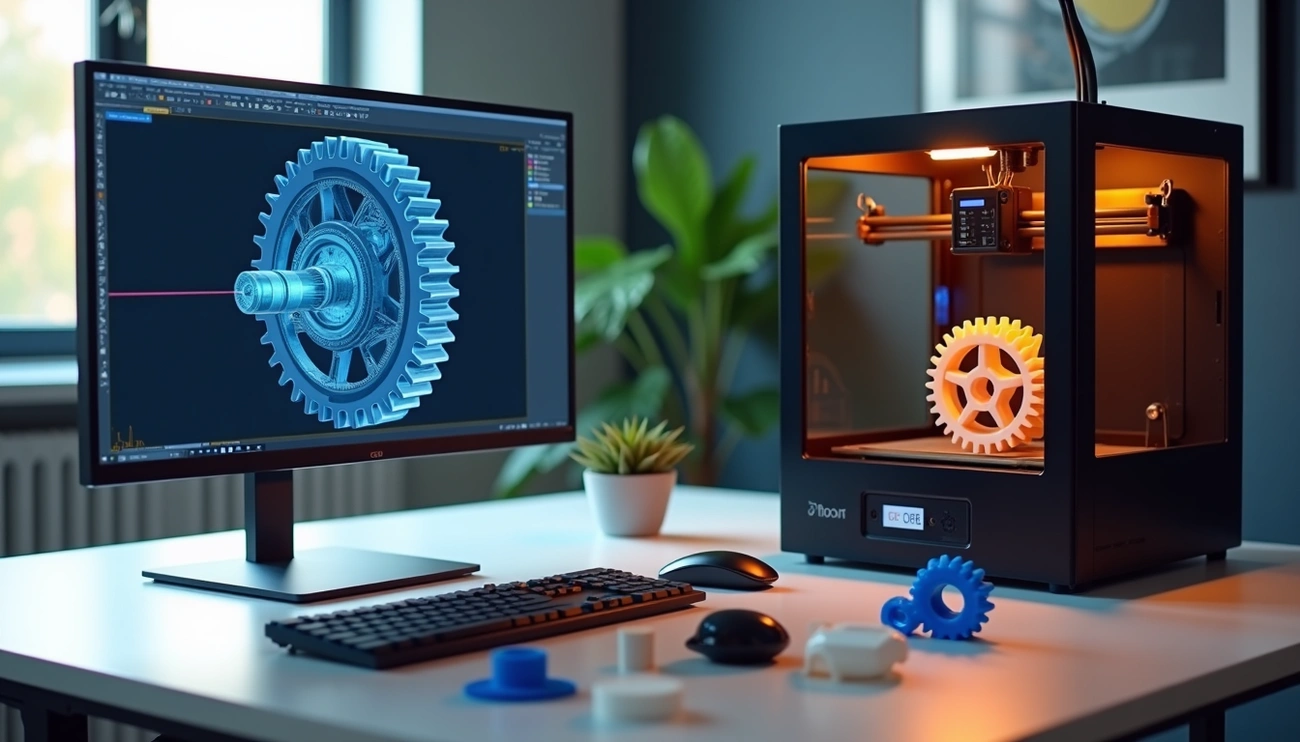
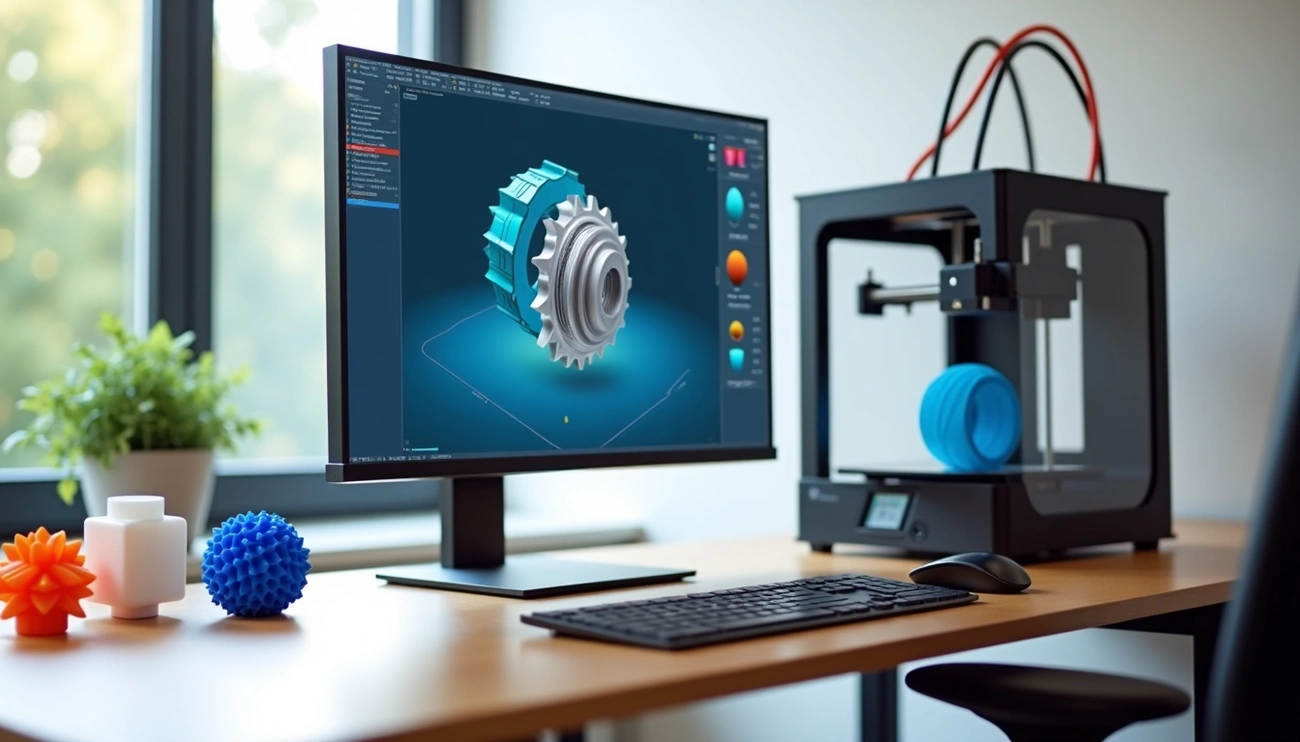
What Makes CAD Software Suitable for 3D Printing
Picking the right CAD software will make your 3D printing projects successful. Good CAD tools need specific features to turn digital designs into physical objects smoothly. Let’s look at what makes certain CAD software work better for 3D printing.
3D modeling capabilities
Quality CAD software must create detailed and accurate three-dimensional models. These programs should support different modeling techniques to make precise digital designs that print well in the real world.
Quality CAD systems typically offer:
- Parametric modeling – You can easily adjust and iterate your design by changing parameters
- Solid modeling – Creates water-tight volumes you need for 3D printing
- Surface modeling – Lets you create complex curved surfaces and organic shapes
- Direct modeling – Gives you immediate control over geometry without complex feature trees
Data shows that companies using advanced 3D modeling tools get 19% faster development cycles and save 15% on development costs. This is a big deal as it means that ECO turnaround times are 16% shorter, which makes these tools vital for efficient manufacturing.
Whatever CAD system you pick, make sure it creates and changes full 3D models. Some software only handles 2D designs like prints and drawings, and won’t give you complete 3D models.
STL file export support
Your CAD software must export STL files because nearly every 3D printer needs them. STL (stereolithography) files convert your CAD models into triangular surfaces and planes that 3D printers can read.
STL has become the standard format because it’s simple, which helps it work with many engineering and design programs. Some CAD programs now support newer formats like OBJ and 3MF, but STL remains the most widely used.
When you export, most CAD programs let you set options that affect print quality:
- Binary vs ASCII format – Binary files are smaller and faster, making them the best choice unless you need something else
- Tessellation density – Decides how many triangles make up your model’s surfaces
- File naming – Helps identify your design in slicing software
The export step turns your precise CAD model into a mesh of triangles that shows the object’s surface. This step matters because it determines how well your physical print matches your digital design.
Resolution and unit settings
Resolution and unit settings are key to getting good prints because they control print quality and size accuracy.
Resolution settings determine how well the STL file matches your original design:
- Chordal tolerance (also called chordal deviation) – Sets the maximum gap between the original design surface and the STL’s triangular face, usually 0.1mm for quality prints
- Angular tolerance – Sets the maximum angle between adjacent triangles, typically 0.25-1 degree
STL files don’t include unit information, so you need to watch both your CAD units and printer’s expected units carefully. Most slicing software uses millimeters by default, but unit mismatches can make prints come out completely wrong in size.
Industry experts suggest these settings for most CAD platforms:
- Use binary format STL exports
- Set chordal tolerance to 0.1mm (0.004″)
- Set angular tolerance to 1 degree
- Make sure your model’s smallest features are bigger than your printer’s minimum resolution
These settings give you the right balance between file size and model accuracy. Your prints will match your design while staying manageable for slicing software.
Direct vs Parametric Modeling: What Beginners Should Know
Understanding different modeling approaches helps you choose the right software to create 3D models for printing. Direct modeling and parametric modeling are two main methods that offer different workflows. These methods can substantially affect your printing trip.
How direct modeling works
Direct modeling gives you the ability to modify geometry without thinking about history or feature trees. The process works like virtual clay—you push, pull, and manipulate surfaces to create your desired shape. You can interact with the model’s geometry right away. Select faces, edges, or vertices and drag, rotate, or move them to make changes.
This approach works great especially when you have:
- Original concepts and ideas to learn
- Quick changes to make in existing models
- Imported files without parameter history
- Organic shapes and artistic designs to create
Blake Courter introduced SpaceClaim in 2003, and direct modeling became a key part of modern CAD. This solved many problems with purely parametric systems. Smart geometry algorithms detect face connections and intelligently adjust surrounding surfaces as you move features.
Benefits of parametric modeling
Parametric modeling uses a rule-based approach. Your design depends on dimensions, constraints, and relationships. You create features like extrusions or cuts that build a structured history tree instead of changing geometry directly.
Parametric modeling gives you these advantages:
- Design intent preservation: Changes follow set rules and keep important relationships between features
- Automated updates: Changes to parameters adjust all connected features automatically
- Precise control: Perfect for designs that need exact dimensions and manufacturing constraints
- Family creation: Create different versions of parts by adjusting key parameters
Parametric modeling helps a lot in 3D printing projects that need precision. Parts that must fit together perfectly benefit from its structured approach to design changes.
When to use hybrid approaches
Modern CAD systems let you use both approaches together. Hybrid modeling merges direct and parametric techniques in the same model. This combined method streamlines processes in 3D printing workflows.
Hybrid modeling works best when you:
- Start designs with direct modeling’s freedom
- Add parametric constraints to important features later
- Create complex curved shapes alongside precise mechanical parts
- Change imported models without starting over
CAD industry analyst Monica Schnitger says, “It might make sense to use direct modeling during conceptual thinking… During detailed design, when most of the free thinking and learning is finished, it might be reasonable to use parametric design”.
Understanding these modeling approaches helps beginners pick the right CAD software for 3D printing. The best software for most 3D printing enthusiasts includes both capabilities. This lets you use each approach’s strengths throughout your design process.
Best Beginner CAD Software for 3D Printing: 8 Tools Compared
The right design tool can make your first steps into 3D printing much easier. I’ve tested many options and found eight CAD software packages that give you powerful features while being easy to learn.
1. TinkerCAD
Autodesk created TinkerCAD in 2011 as a browser-based tool that needs no downloads. This free platform lets you build models by combining, subtracting, and shaping simple geometric forms. The user-friendly design works great for elementary and middle school students. TinkerCAD has shape libraries with standard primitives, hinges, ball joints, and 3D printable fossils from the Smithsonian National Museum of Natural History. You can access your designs from anywhere since it’s web-based, though you might find the simple approach limiting for complex projects.
2. FreeCAD
This free, open-source parametric modeler packs advanced features without any cost. FreeCAD supports 2D and 3D modeling and comes with tools for building information modeling (BIM) and structural analysis using finite element methods. The interface isn’t as polished as paid options, but FreeCAD runs on any hardware supporting OpenGL. Students with tight budgets love it because there are no subscription fees or usage limits.
3. Fusion 360
Autodesk’s Fusion 360 brings together CAD, CAM, and CAE capabilities in one cloud-based package. Students, educators, and startups can use it free, while commercial users pay $495/year. The modern interface features seven specialized workspaces where you can use both parametric and direct modeling approaches. You can test your designs for mechanical stress, vibrations, and thermal properties before printing. Resource-heavy operations happen on Autodesk’s servers, so you don’t need powerful hardware.
4. SketchUp
Trimble’s SketchUp works best for architectural visualization and comes with both free web-based and paid versions. The user-friendly interface helps newcomers create 3D models quickly. It excels at conceptual models but might need plugins for complex geometry. Your model must be “solid” according to the Entity Info window before you can export it as STL for 3D printing.
5. SelfCAD
SelfCAD launched in 2016 as an in-browser direct modeling tool with free and paid options. The free version has simple modeling tools, MyMiniFactory database integration, and semi-professional rendering. You get parametric control through sketching and various operations like extruding and lofting. Tutorial videos are readily available, making it a good fit for middle and high school students.
6. Onshape
PTC’s Onshape runs entirely in the cloud across iOS, Android, Linux, macOS, and Windows. Teams love its real-time collaboration features and version control tools. This product engineering tool costs $1500/year but students and teachers can use it free. You can start working right away from any device with internet access since there’s nothing to install.
7. Shapr3D
Shapr3D works best with Apple products and has native apps for iPad, macOS, and Vision Pro. Most users learn the basics in 3-5 days and can handle manufacturing operations after just 15 minutes of training. You can work offline and sync to the cloud when needed, perfect for sites without internet. The touch controls work especially well with Apple Pencil on iPad.
8. Blender
This free, open-source 3D creation suite started in 1994 and works on Linux, macOS, Windows, and Android. Though not built specifically for CAD, Blender’s advanced mesh modeling and sculpting features work great for organic 3D printable models. Beginners might find it challenging at first, but the large community offers plenty of support and documentation.
How to Match CAD Tools to Your Workflow and Goals
Your workflow and goals determine the best CAD software for you. The right tool matched to your needs will help you achieve better 3D printing results faster.
Fast prototyping vs. detailed engineering
Direct modeling tools work best to create quick prototypes. They let you manipulate shapes right away without dealing with complex feature trees. This helps you test concepts and verify ideas faster. Tools like TinkerCAD or Shapr3D work great for projects that move at a quick pace.
Projects that need exact specifications or mechanical functionality work better with parametric design tools. Software packages like Fusion 360 or FreeCAD give you the control you need. These tools help maintain dimensional accuracy and design integrity as you make revisions.
Cloud-based vs. desktop software
You can access cloud-based CAD through a subscription without installing anything. These tools let you work from anywhere using browsers or mobile apps. They update automatically and need less IT support. Your local computer doesn’t need to be as powerful since the processing happens on remote servers.
Desktop applications give you more control over your data and usually pack more features. You can work offline without issues and choose when to update your software. This helps you avoid automatic upgrades during critical project deadlines.
Collaboration and team use cases
Teams spread across different locations benefit from cloud-native solutions like Onshape. These tools let multiple people work on files at the same time without conflicts. Large companies with international teams find this useful since files can be shared instantly across locations.
Teams working in the same location might prefer desktop systems with network licensing, especially if they already have file management systems in place.
Tips for Getting Started with Your First CAD Project
Your CAD experience starts with practical strategies that build confidence and technical skills together. These foundational tips will direct you through your first 3D printing projects.
Start with simple shapes and objects
Get familiar with the essential commands in your chosen CAD program. Learn the Command Window, toolbars, and menus before you tackle complex designs. Simple geometric shapes like cylinders, spheres, and boxes are the foundations of more sophisticated models. Your first project should be a simple household object or mechanical part that needs minimal curves or features.
Use tutorials and community forums
The best CAD software for 3D printing comes with free tutorials on their official websites. YouTube has many beginner-friendly video guides made specifically for 3D printing applications. On top of that, online communities and forums are a great way to get support when you face challenges. Structured courses through platforms like Coursera or Skillshare help develop systematic learning.
Practice exporting and slicing for 3D printing
The export process is vital since STL remains the standard format for 3D printing. Watch your export units carefully—the classic millimeter/inch mix-up ruins more prints than expected. Next, dive into slicing software settings and focus on layer height, infill density, and support structures. The toolpath preview helps catch problems like floating supports or missing perimeters before printing.
Conclusion
Picking the right CAD software is a vital first step when you dive into the world of 3D printing. This piece explores how CAD software evolved from its early days to become available tools that help bring creative ideas to life. The best software combines powerful 3D modeling capabilities with a user-friendly interface and key features like STL export support.
Beginners definitely benefit from knowing the differences between direct and parametric modeling approaches to make informed decisions about software that matches their design style. Direct modeling lets you make quick creative changes, while parametric modeling gives you precision and control for technical projects. Many modern tools now offer hybrid approaches that give users the best of both worlds.
We looked at eight leading CAD options from free browser-based platforms like TinkerCAD to professional-grade solutions like Fusion 360. Each tool has unique advantages based on your specific needs. Cloud-based options give you collaboration features and accessibility, while desktop applications provide resilient functionality offline.
Your software choice should match your workflow and goals. Quick prototyping needs different tools than detailed engineering projects. Team projects might need specific features that individual work doesn’t require.
You’ll get better at CAD software through practice and persistence. Start with simple objects and use tutorials and community support to practice the whole workflow from design to slicing. Learning CAD software takes time, but the skills you develop will open up endless creative possibilities.
The start of your 3D printing experience should focus on building practical skills rather than trying to master every feature at once. Your ultimate goal isn’t to become a CAD expert but to create functional, meaningful designs that solve problems and show your creativity. The perfect CAD software helps turn your digital dreams into physical reality.